

The Island Batik ambassadors are presented a challenge each month of the year. The March challenge was to try a technique that we had never done before. I wondered what to make, and had really settled for reverse appliqué, but, then I spotted several posts on Instagram using the interesting Interleave technique. After a quick search I found this tutorial by Lorrie Cranor and decided to give it a try. Laura Piland, a fellow ambassador, made this beauty using the same technique in last year's ambassador program.

I chose fabrics from this bundle of stash builder rolls that was given to me from Island Batik. The rolls are 5" x width of fabric (WOF), and each roll has four strips.

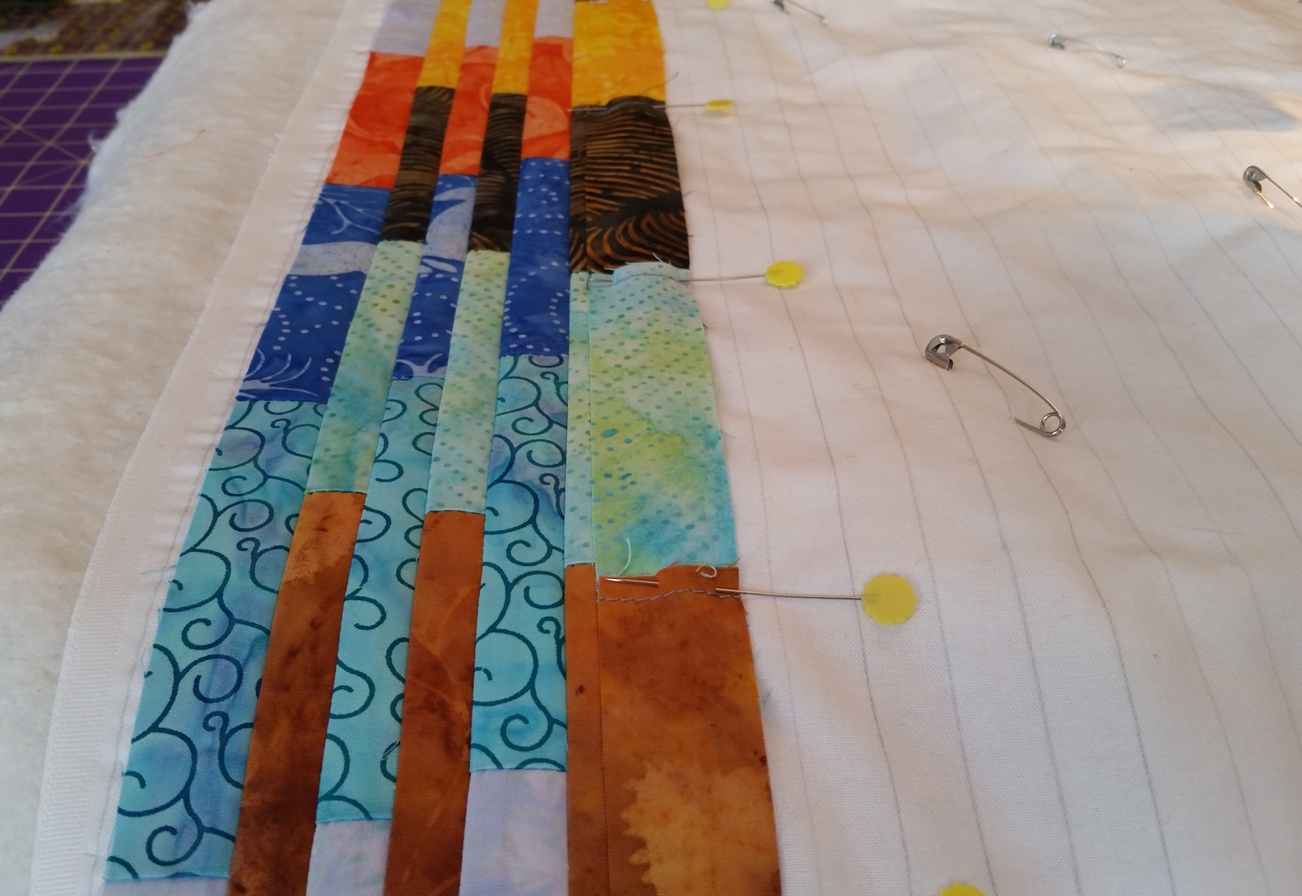
I decided to make a small quilt as a test for this technique, using the same modified method as Laura used. I chose these colors from the 5" strips, cut 20" of each and sewed them into two different panels. The idea is to have good contrast between the strips.

After I sewed each panel into a tube, I drew a free-hand wave on freezer paper and ironed it on to one of the panels and traced the shape. I flipped the paper template onto the other tube and traced the wave onto that, too.

After cutting up the tube (with scissors!) the panels looked like this. The wave shifts the strips to make the interesting Interleave design.


Sometimes it is easier to see the wave effect by tilting the quilt a bit.

I trimmed the quilt to size, it turned out to be 17.5" x 20". Then I had to decide on the binding. I wanted to use the leftovers from the stash builder strips to create an interesting effect to the wave. After laying out the strips I decided to skip the brown and use only four colors.

Here is the finished product, I call it "Fire and Ice".

The Interleave technique is very interesting and I learned a lot in the process. It is almost a surprise to see how the end result is so different from the starting panels. I had my doubts in the beginning concerning the small contrast between the two lighter blue colors on the right, but it really works out fine!

I used a cotton fabric for the backing, and added triangle pockets for easy hanging. This mini will be a jewel on my sewing room wall!

Så spennende. Jeg starter på mitt prosjekt til uka.
ReplyDeletePretty quilt, defferent effect. Thank you for the link to the tutorial.
ReplyDeleteThat is very cool! A technique I'd like to try some time, for sure!
ReplyDeleteWow. That is great! I didn't see that coming from your original strips - I love looking at all the ambassador posts about their new techniques, problem is I want to try them all now too!
ReplyDeleteThat is amazing, love it.....!!!!
ReplyDeleteกำถั่ว